Walk & Jump Recognition
Walk Recognition
Walk recognition is a pre-trained model, and its success depends heavily on the camera's angle and position matching the model:
Place the camera at knee height (about 40 cm off the ground) and adjust the tilt angle so your head is near the top of the frame and your feet touch the bottom of the frame:
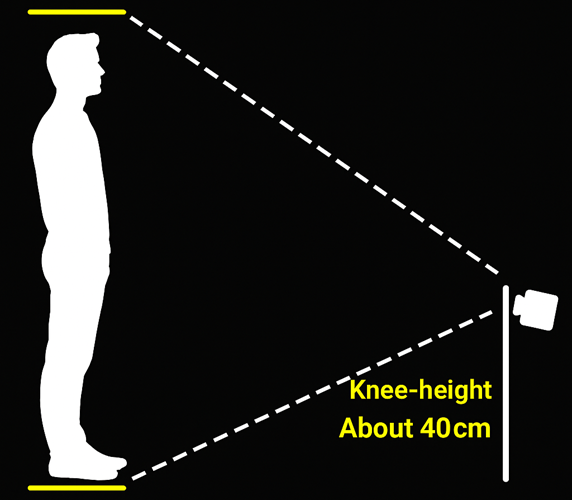
Adjust the camera tilt so your body aligns with the blue guide silhouette in the capture view
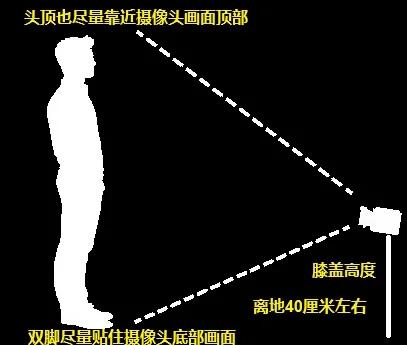
If, for various reasons, you can't align perfectly with the silhouette, try your best to align your feet with the bottom of the camera image.
(While a game is running the guide silhouette is hidden by default; if you need it as an alignment reference, enable Show figure during game in Overlay Setup.)
Sufficient Lighting
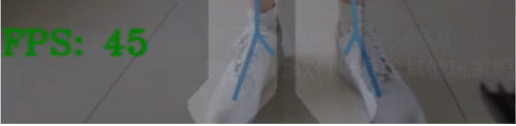
The Link uses your own camera, and different cameras react to poor lighting very differently. In testing, some cameras drop their frame rate noticeably in dim rooms, which hurts recognition.
Please keep the room well lit. If you cannot improve the lighting, you can also try raising the camera's brightness and exposure in its settings software to get a clear enough picture.
The Walk Recognition Control
Choose Add Walk/Jump from the Link editor's input menu, then pick Add Walk in the panel that opens. The walk control has two adjustable values (both 0 to 100, both defaulting to 50):
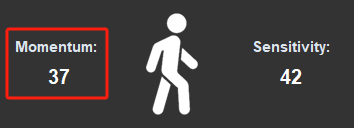
Inertia: The inertia of the game character being driven forward. Too low can cause the character to stutter while walking; too high may cause the character to keep walking a few steps after you stop. Adjust it to a value where your walking perfectly syncs with the character.
Sensitivity: The higher the sensitivity, the easier it is to trigger walking, but it may also cause false triggers. Lower sensitivity makes walking harder to trigger, sometimes requiring high stepping to start. Adjust it to your comfort.
Note: The scales are now unified to 0–100. Older models are converted automatically when loaded, but the feel may shift slightly after conversion — after migrating an old model, re-tune around the defaults once.
Once tuned, you can right-click the walk control to add it to favorites (★) for convenient future use.
Constrain Pose
You can add a constraining pose above the walk control (the recommended pose is standing with both feet making small walking-like movements). Only when this pose's similarity is met will the walk control below start detecting walking:
-
Click Add Pose to enter the capture view, maintain a small walking movement or stand still without making any large movements, then say "Capture" as prompted at the top of the capture window.
-
Scroll the mouse wheel on the input logic rail on the left and switch the logic to Match all, so the constrain pose and walking must both be met before the walk keys fire.
Adjust the constrain pose similarity to a point where walking never stutters.
For a more detailed explanation of pose recognition, see: Pose Recognition
False Walk Triggers
Cluttered backgrounds, loose clothing, or dim rooms
The Link is a motion control software that relies entirely on the camera to recognize your movements, meaning it can only determine your actions based on what it sees through the camera.
If your background is cluttered or similar in color to your clothes, it may cause difficulty in recognizing your body, leading to false walk triggers.
Similarly, if your pants are too loose, small steps may not be detected as walking, and excessively loose clothing may swing around and make The Link think you are moving.
Regarding lighting, it largely depends on the camera itself. Some cameras perform poorly in low-light conditions. In this case, ensure sufficient lighting in the room or add extra light sources.
Summary: The most accurate way to know whether The Link sees you clearly is to observe whether the tracking lines on your body stay steadily in the right places while you move and walk.
Upper-body false-trigger correction algorithm
In Settings → Advanced, under the Tracking & Confidence group, there is a Walking false-trigger correction (upper body) slider (from Weak to Strong, 0–120%). Increasing its strength helps prevent large upper-body movements from falsely triggering walking:
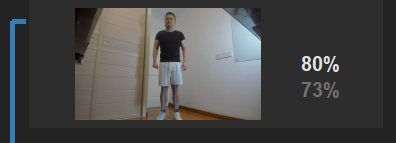
Note: Setting the strength too high may cause the character to stop unexpectedly when you make large upper-body movements while walking.
Add a constrain pose
As in the Constrain Pose section above: adding a "small walking-like standing" pose with Match all logic is the most direct way to stop false triggers.
Temporarily disabling walking for immediate-stop actions
In fast-paced games, there are times when you want your character to immediately stop moving, no matter what.
You can bind such actions to temporarily disable the walking Link:
-
Double-click the Link that should stop walking, click the ▽ next to the output area, and choose Page & Link Control.
-
In the popup, switch the top tab to Link Toggle, pick the page and the walking Link (for example, the Link named "Forward"), and click Add Link — Off.
-
A "PageName-LinkName Off" badge appears; click the badge's × to remove it.
-
Set the output mode to Hold, then click OK to close the popup:
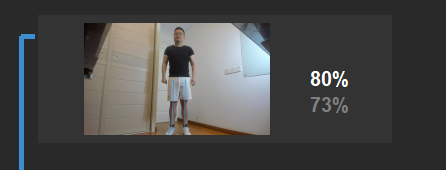
Finally, remember to save the Link.
Now, whenever you perform this action, walk recognition is temporarily disabled and a walking character stops immediately. (Consider adding this to any action that must never falsely trigger walking.)
Jump Recognition
Jump recognition essentially detects the upward speed of your body's center of gravity, allowing it to adapt to various role-playing scenarios (e.g., you can crouch and perform a small jump).
Choose Add Walk/Jump from the input menu, then pick Add Jump. It has a single value:
Sensitivity: As the name suggests, the higher the sensitivity, the easier it is to recognize a jump; lower sensitivity makes jumps harder to detect (range 1 to 60, default 45):
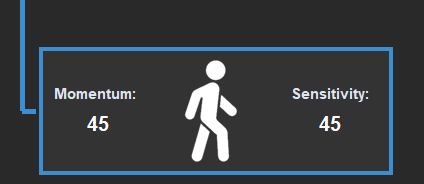
Because jumping is analyzed as continuous motion across several consecutive frames, its sensitivity is directly related to your frame rate. On most computers there is a specific band within 1–60 that clearly responds to your jumps — find that band and tune within it.
Preventing False Jump Triggers
Since jump recognition only measures the upward speed of your center of gravity, high sensitivity can cause false triggers during intense movements or rapid crouch-and-stand motions.
If a game requires frequent jumping but cannot tolerate false triggers, besides replacing jumping with another action, you can combine it with a HitBox to create a height-restricted "true" jump:
Add jump recognition, then add a HitBox drawn above your head (tracking part: Nose) and set the input logic to Match all — the jump only fires when your center of gravity rises and your nose enters the top HitBox.
Since two conditions must be met, you can set the jump sensitivity somewhat higher.
For more about HitBoxes, see: Add HitBox
In Settings → Discover Models you can install ready-made mini-game templates (for example Poki Mini Games — Movement under Poki Mini Games) to see a working movement and jump setup, tune it to your room, and copy it into your own model: