
Beginner's Guide
Run The Link as an Administrator
- Steam: in your Steam Library, right-click The Link → Manage → Browse Local Files, find The Link.exe → right-click Properties → Compatibility tab → check Run this program as an administrator → Apply → OK. Restart The Link.
- Non-Steam (website installer): do the same on the desktop shortcut or on The Link.exe in the install folder (right-click → Properties → Compatibility → check Run this program as an administrator). Windows will then show a UAC confirmation each time you launch — just click "Yes".
Recommended Camera Placement
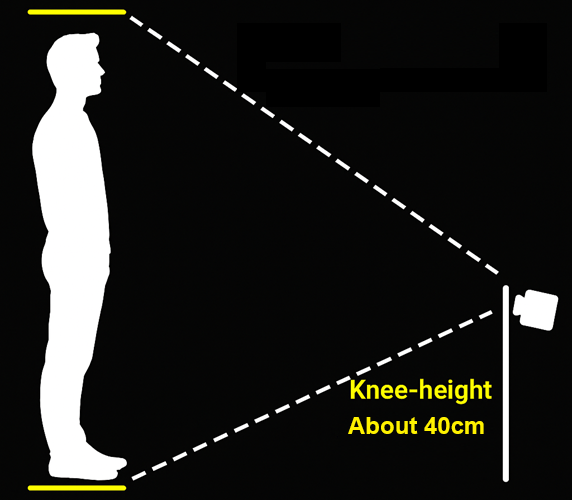
Adjust your camera's height (about knee height, roughly 40 cm off the floor) and upward angle to match the diagram.
Make sure the camera faces you directly — avoid side angles or tilted perspectives. Good lighting also makes a big difference, because The Link relies solely on a webcam for motion capture.
Real setup examples:
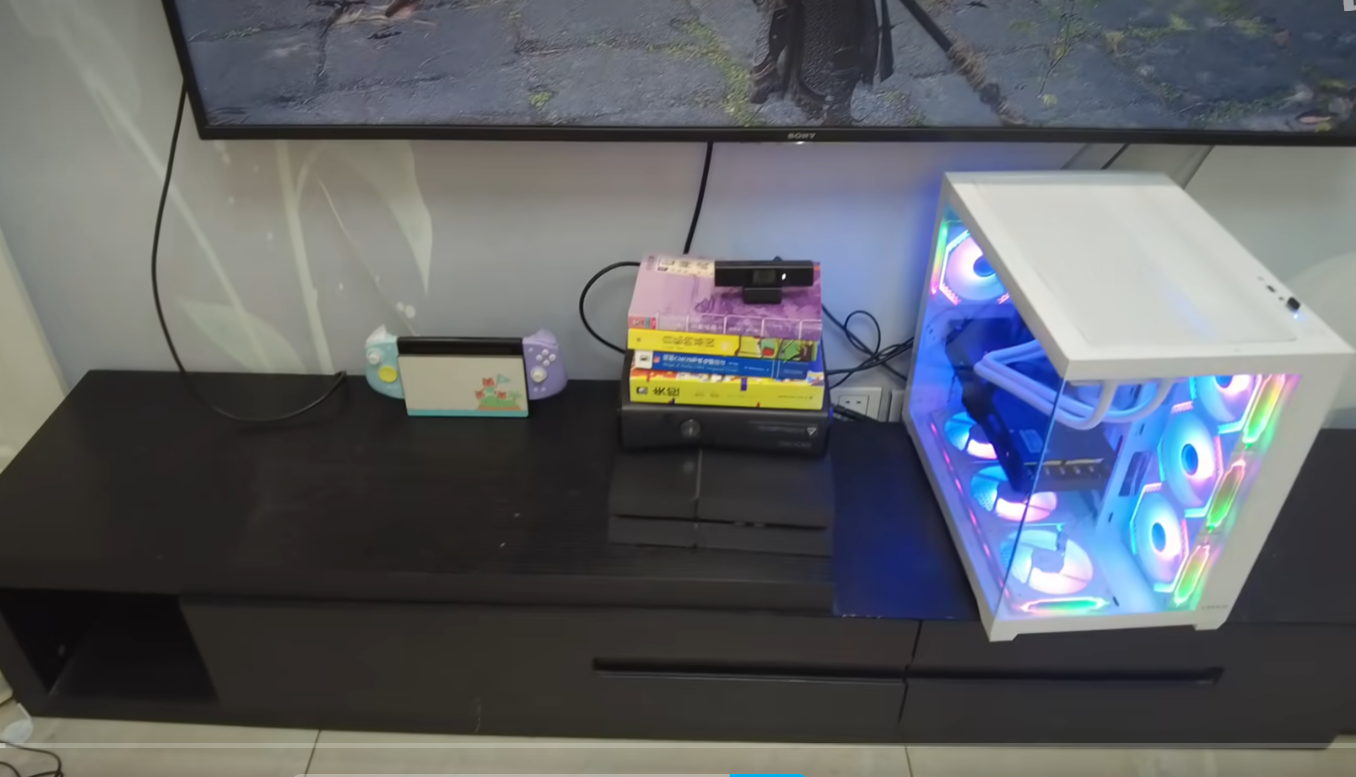
Living room — camera raised to knee height with a few books, tilted upward to capture the full body:
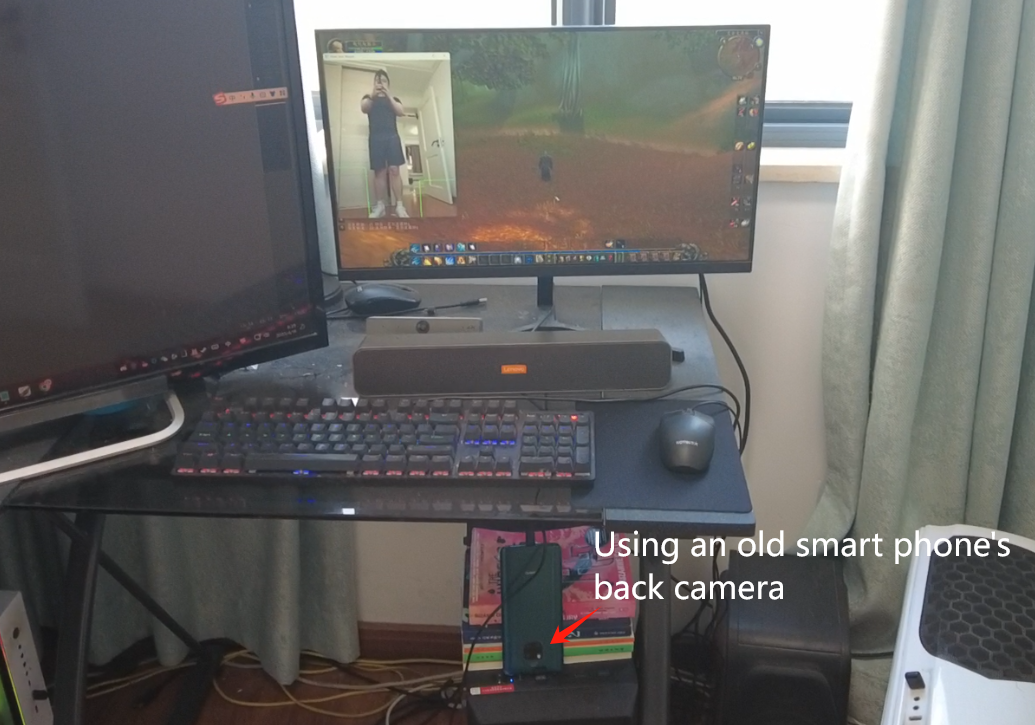
Home office — same principle: knee height with an upward angle for full-body tracking:
See also: What to Do If the Camera Can't Capture Your Full Body
No standalone webcam? The Link phone app can turn your phone into the computer's camera directly (rear wide-angle lens + portrait orientation covers most rooms): Use Your Phone as Camera & Mic (Step by Step)
First Launch
On first launch The Link detects your CPU and memory and picks a suitable performance mode automatically — no manual setup needed (you can change it any time in Settings).
Starting motion capture is simple: click the camera preview at the bottom of the main window (it shows a Click to Start hint). You can also just say your activation wake word — it has exactly the same effect as clicking Start.
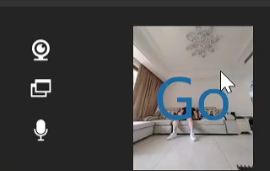
The screenshot above shows the main window with no camera connected — the preview reads "No camera detected. You can pair a phone to use as a camera". Once a camera is connected, that area becomes a live feed with the Click to Start hint overlaid on it.
Once started, check that the blue tracking lines appear on your body, that they stay stable while you move, and that there is no visible lag. Normally you should not feel any delay or stutter at all.
- Camera black screen or not detected? See Camera-Related Issues
- Voice activation not working? See Voice Recognition
- Overlay window questions? See Translucent Overlay
- Lag, delays or low FPS? See Delay, Lag and Low Frame Rate
You can even play with no camera at all: pick Voice Only in the performance section of Settings — the preview then shows Voice-Only Mode — click to start, and you control the game with voice commands only.
Load a Template
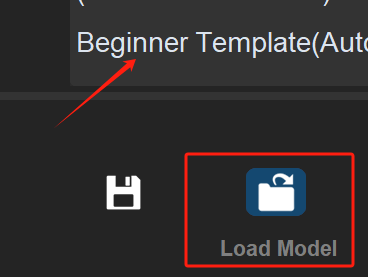
On your very first launch The Link loads a Starter reference template by default.
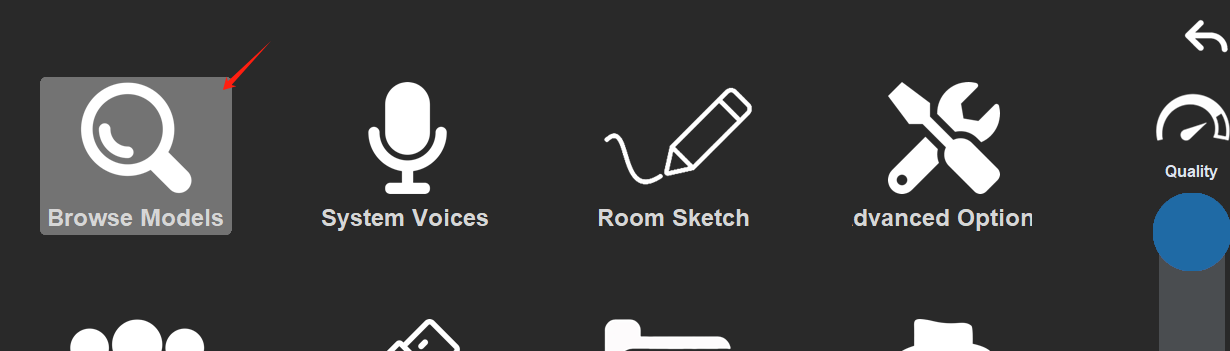
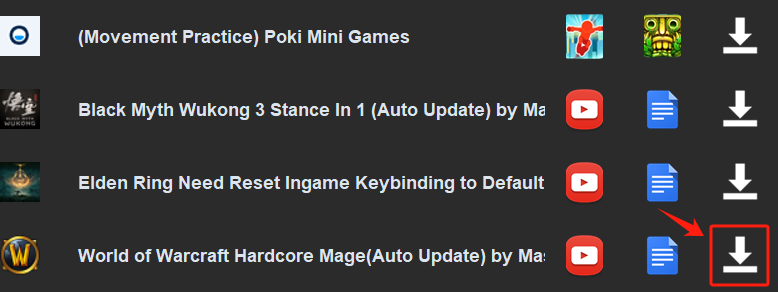
If it wasn't loaded: go to Settings → Discover Models, pick the General & Starter game, find the Starter reference template and click Install. You can also click Load Model on the main window and double-click any saved model to load it.
Discover Models is organized by game — if your game is there (Black Myth: Wukong, Elden Ring, World of Warcraft and more), load its template and give it a try.
The Link is extremely powerful — learn as you play instead of reading everything at once.
More topics: Walk and Movement · Game Camera and Turning · Pose Recognition · Keyboard & Mouse Recording
Start from a Template
Change the Hotkeys
Click a skill in the template to open its Link editor, then click Start Key Log on the right side and record your own hotkey to replace it.
More details: Keyboard & Mouse Recording
Recapture or Replace Poses
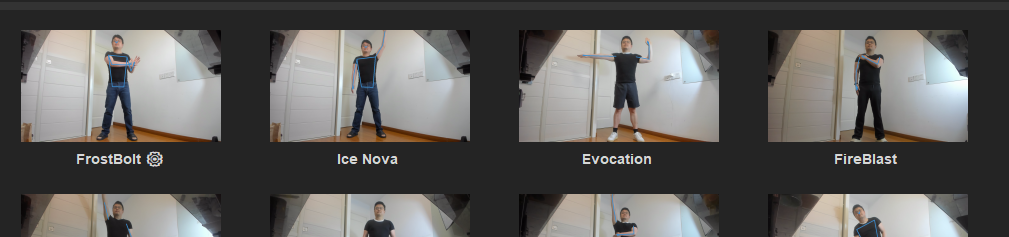
Double-click the pose photo on the left to re-capture it (the tooltip says "Double-click to re-capture"). For the best recognition, re-record every pose as yourself. Beginners can copy my poses first (the small reference image shows the "mirror view" you should match) — my templates rarely have pose conflicts. Design your own moves once you know the software better.
More details: Pose Recognition
Build Your Favorites
Once a move is tuned and working, right-click it and choose Add to Favorites — you can drag it back out and reuse it any time.
Click the ★ button next to Add Pose in the Link editor to open Favorites. If you can't think of a pose, open MasonX's favorites and drag one of my poses into the input zone:
- If it's a pose, double-click it to re-capture for better accuracy
- If it's a hitbox, re-drag its region and re-pick the body part yourself
Stuck? Click Help
The Help button at the top-left of the main window opens the help panel: symptom entries (Camera not detected, Lag / low FPS after starting, Voice commands not recognized, Camera can't see my full body, First-time setup) jump straight to the right article, plus Browse the full manual, Quick start (works offline), Game setup guides, Watch the video tutorial and Still stuck? Ask the community.
Join the Community
Ask the author or other players on Discord: https://discord.gg/SnarbnDSTQ
All video tutorials (some may show older versions): YouTube playlist