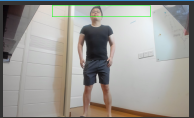
Touch Zone
Add Hitbox lets you draw a trigger area on the camera feed with your mouse. The software remembers the body part that enters the area, and from then on that part entering the box triggers the output.
Drawing the Hitbox
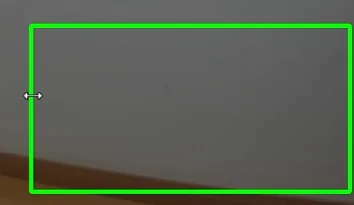
Choose Add Hitbox from the ▽ menu in the Link editor. In the capture window, drag with the mouse to draw the green box:
- The Figure button in the bottom-left corner (on by default) shows a reference silhouette on the feed to help you position the box; click it to hide the silhouette.
- Other Links' hitboxes in the same model appear as unlabeled gray reference boxes. Only the active green box shows its Link name, keeping the current edit clear while still helping you avoid or align with existing zones.
- After drawing the box and before capturing data, the top shows only Say: Capture.
Adjusting the Hitbox
Keep adjusting with the mouse after drawing (bottom prompt: Adjust the box, or press ESC to redraw):
- Drag an edge to resize;
- Drag inside the box to move it as a whole;
- Drag a corner to scale it proportionally.
To start over, click the ✕ handle on the box, or press Delete / Backspace / ESC — these only clear the box for redrawing; they do not close the capture window.
Capture and Save
Move the body part into the green box and say (or click) Capture. After the check animation finishes:
- If only one visible body part was detected, it is selected automatically.
- If several body parts were detected, choose one in the in-camera dialog and confirm. Cancel keeps the green box and returns you to capture so you can try again; it never silently chooses the first item.
Once the body part is resolved, move it into and out of the green box to verify the centered Triggered / No longer triggered feedback and the Link's output badges. Say Save data only after the behavior feels right. Auto-save starts after this choice, never while the dialog is open. Clickable voice prompts and auto countdown otherwise work the same as in the pose recognition capture window.
Choosing the Trigger Body Part
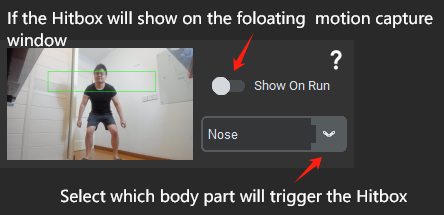
After adding, the hitbox widget has a trigger body part dropdown listing the parts that entered the box during capture (for example "Right wrist"). This dropdown can be changed at any time; if the part you want is missing, recapture once to refresh the candidate list.
Hitboxes have no similarity value: the condition is simply the selected part being inside (or leaving) the box. The widget does offer Stay (in seconds), requiring the part to remain in the box for a while before triggering — useful against accidental triggers.
Showing It During Gameplay
With the In game switch enabled, the hitbox appears in the small floating overlay while you play, making it easier to practice hitting it accurately:
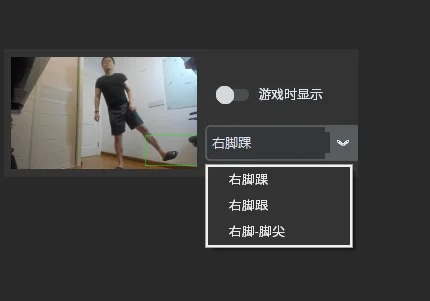
In the overlay settings you can also enable Show Link names in touch boxes to label each box with its Link's name. See Translucent Overlay Window for details.
Tips
Since the screen is 2D, for hitbox actions that are hard to hold in real life (like jumping to touch a box above your head), you can simply step forward so your head enters the box while it is being captured: